
MEASURE UP
How many times have you guessed at your size when ordering a shirt or jeans online? Sometimes it works out and other times it ends up in the return pile. With uniforms, it is too important to leave it up to guessing. Your uniforms can increase employee morale and productivity. They also represent your brand and are a reflection of your business. Make sure your team’s apparel presents a sharp, professional and pulled together image. That starts with measuring the right areas correctly. Here are some helpful tips and a measuring guide to get you started. Before ordering your uniforms, take advantage of having your sales executive verify your employees’ measurements and bring in sample garments to try on.
Tops and Bottoms
When trying on sample shirts and pants, don’t be afraid to move around as you would on the job. For example, you want to make sure the arms aren’t restricting if you have to carry large trays of food. And if you’re a mechanic who is constantly bending and crouching over vehicles, test those movements while wearing the pants.

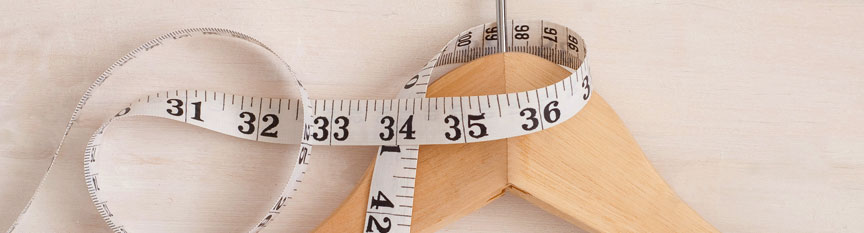
Grab Your Measuring Tape
We’ve outlined the crucial measurements to consider when sizing up uniforms. Go through the list and jot down your numbers so you’re prepared to order the perfect fit.
1. Height
Stand straight against a wall without your shoes. Make a mark level with the top of your head. Measure from this point down to the floor.
2. Impact
Measure around the base of the neck where a collared shirt would fit, or measure a collar band on a shirt that fits you well.
3. Chest/Bust
Measure the fullest part of your chest/bust. Hold the tape firmly but not tightly. Be sure the tape is level and straight across your back. Stand naturally.
4a & 4b. Waist/Mid-section
First, remove your belt. Then, measure over shirt (not over pants) at the position you normally wear your pants. Hold the tape firmly but not tightly. For shirts and covering garments such as coveralls, measure mid-section over clothing around the fullest part of the abdomen. Note: Include both “a” and “b” measurements if ordering multiple garments.
5. Hips
Stand with your heels together. Measure around the fullest part of the hips. Hold the tape measure straight and level.
6. Inseam
Standing straight, measure the distance from the crotch to just below the ankle bone. OR Take similar style pants that fit you well: Lay garment flat and measure along the inside seam of one leg from the bottom of the hem to the crotch.
7. Sleeve
Bend the elbow slightly. Start at the center back of the neck and measure across the shoulder to the elbow and down to the wrist bone.
8. Trunk
Measure from base of neck (front) down to the crotch and loop back up to the backside collar (for coveralls only).
9. Hat Size
Measure the circumference of the head at its widest diameter, approximately 1/8" above the ears.
10. Front & Back Rises
FRONT: This is the distance from the center front at the top of the waistband to the intersection of the crotch seams. BACK: This is the distance from the center back at the top of the waistband to the intersection of the crotch seams.
11. Across Shoulders
While standing with arms down, measure across the back from one shoulder joint to the other.
12. Upper Arm/Bicep
Measure the maximum circumference of the upper arm just below the under arm.
13. Forearm
Measure the maximum circumference of the forearm at approximately 6" above the wrist.
14. Wrist
Measure the wrist circumference over the wrist bone.
15. Thigh
Measure around thigh (parallel to floor), below crotch.
16. Knee
With the leg straight, measure the knee circumference over the knee cap and parallel to the floor.
17. Calf
Measure the circumference of the largest part of the lower leg approximately half way between the knee and ankle and parallel to the floor.
18. Outseam
Measure along the outside of the leg from the top of the waistband to the bottom of the hem of just below the ankle bone. OR Lay garment flat, measure along outseam from top of band to bottom of hem.
19. Over Arm
With arms at the sides, measure around the broadest part of the shoulders and upper arms, keeping the tape level at all times. If over arm measurement is 7" larger than chest measurement, go up one size.
Source: VF Imagewear
PEOPLE YOU CAN COUNT ON®
Learn how we make your life easier with brand-building solutions to keep your employees and facilities looking their best.